A digital menu is no longer a trend — it's a necessity. Guests expect to view the menu from their phone without waiting for a waiter. And for venue owners, it's an opportunity to update prices and items instantly, without reprinting.
In this article, we'll show you how to create an online menu in 5 minutes using FlexBite — free and without any technical skills.
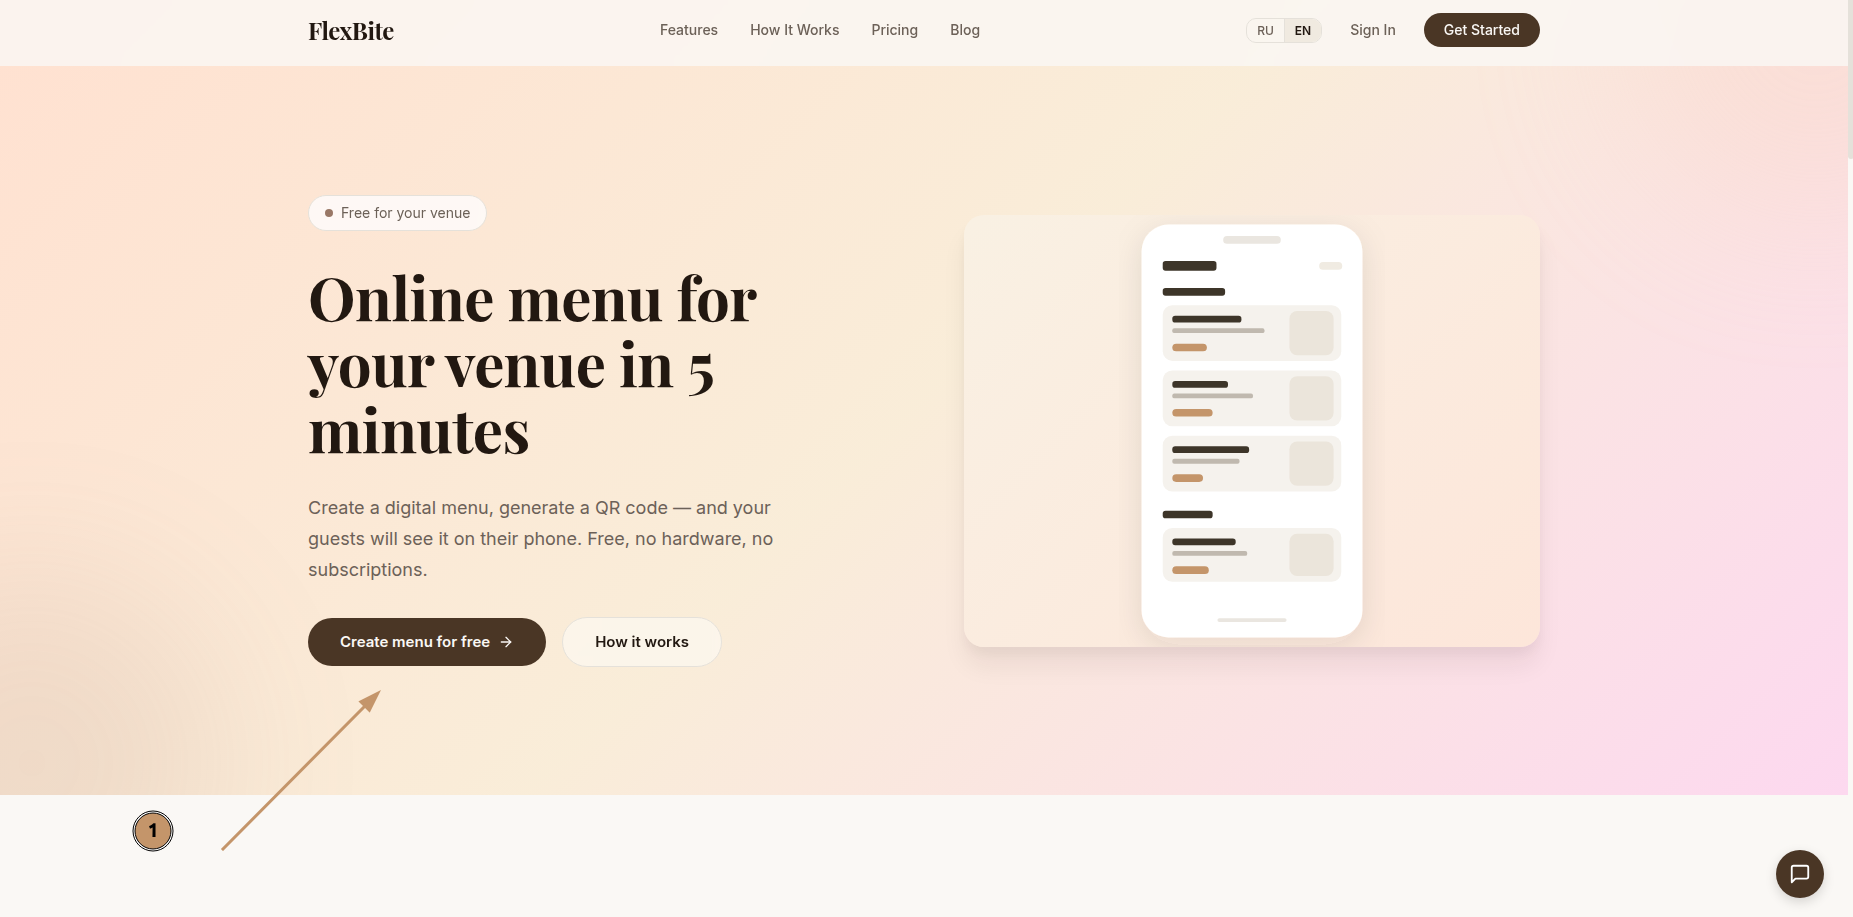
Step 1: Open FlexBite
Go to flexbite.org and click the "Create menu for free" button on the homepage.
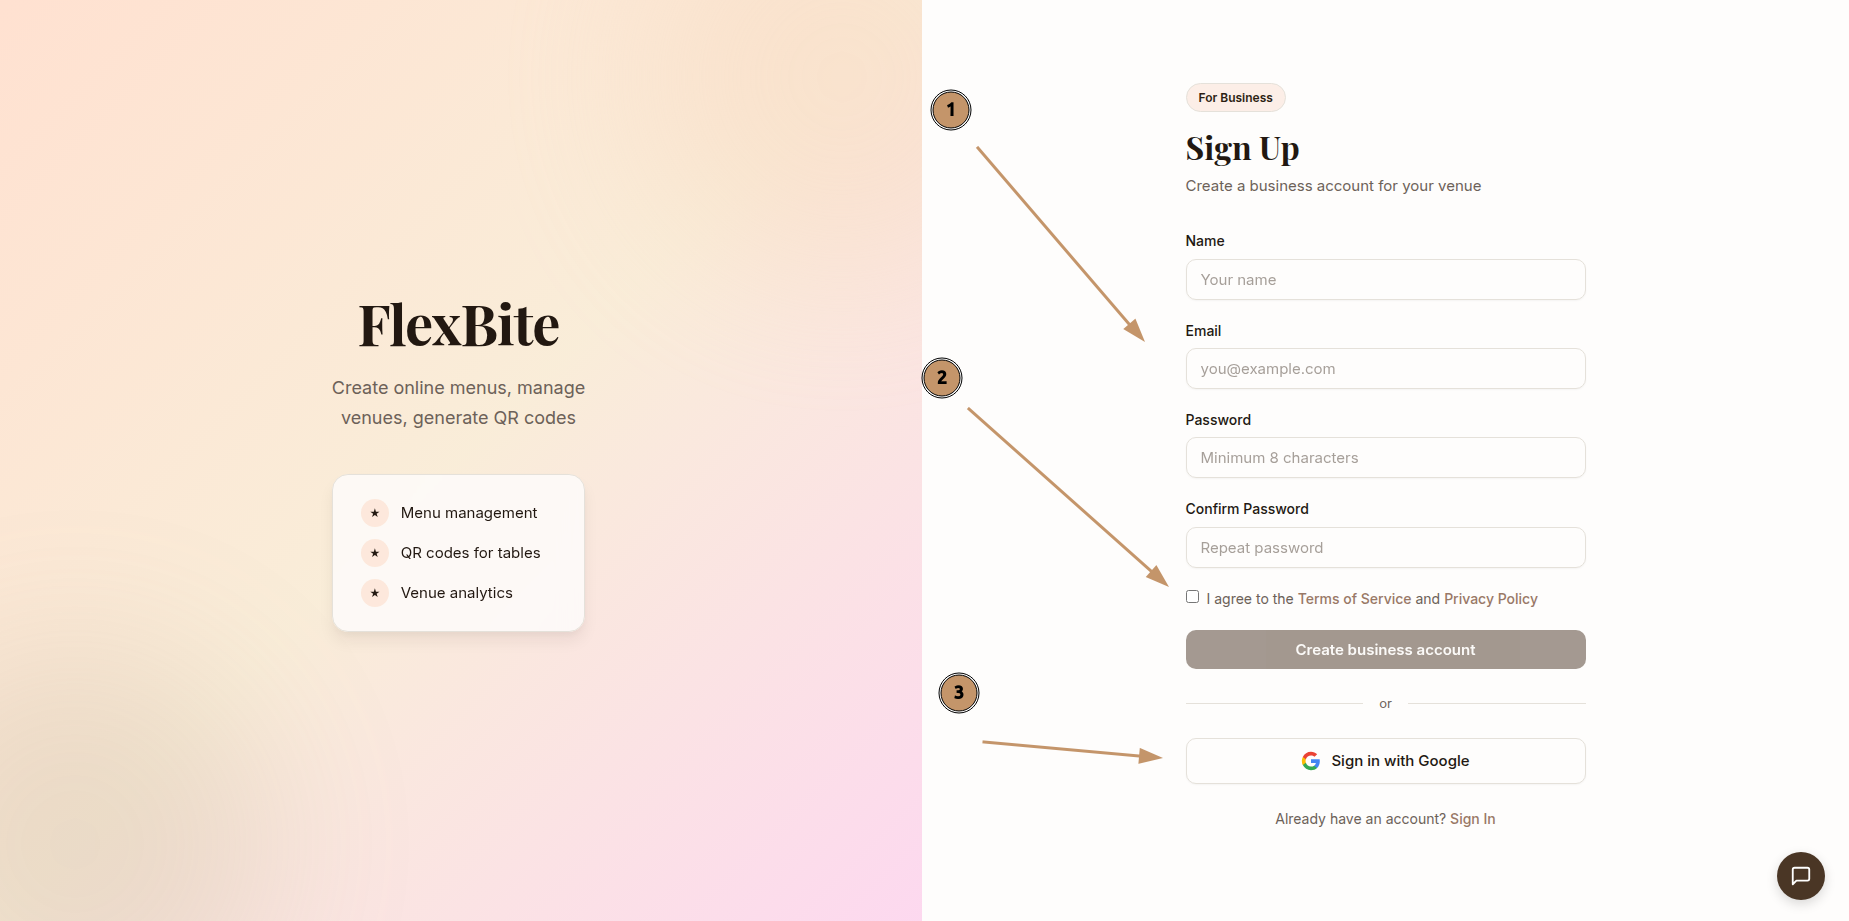
Step 2: Sign Up
Fill in the registration form — you only need an email or Google account. Takes 30 seconds.
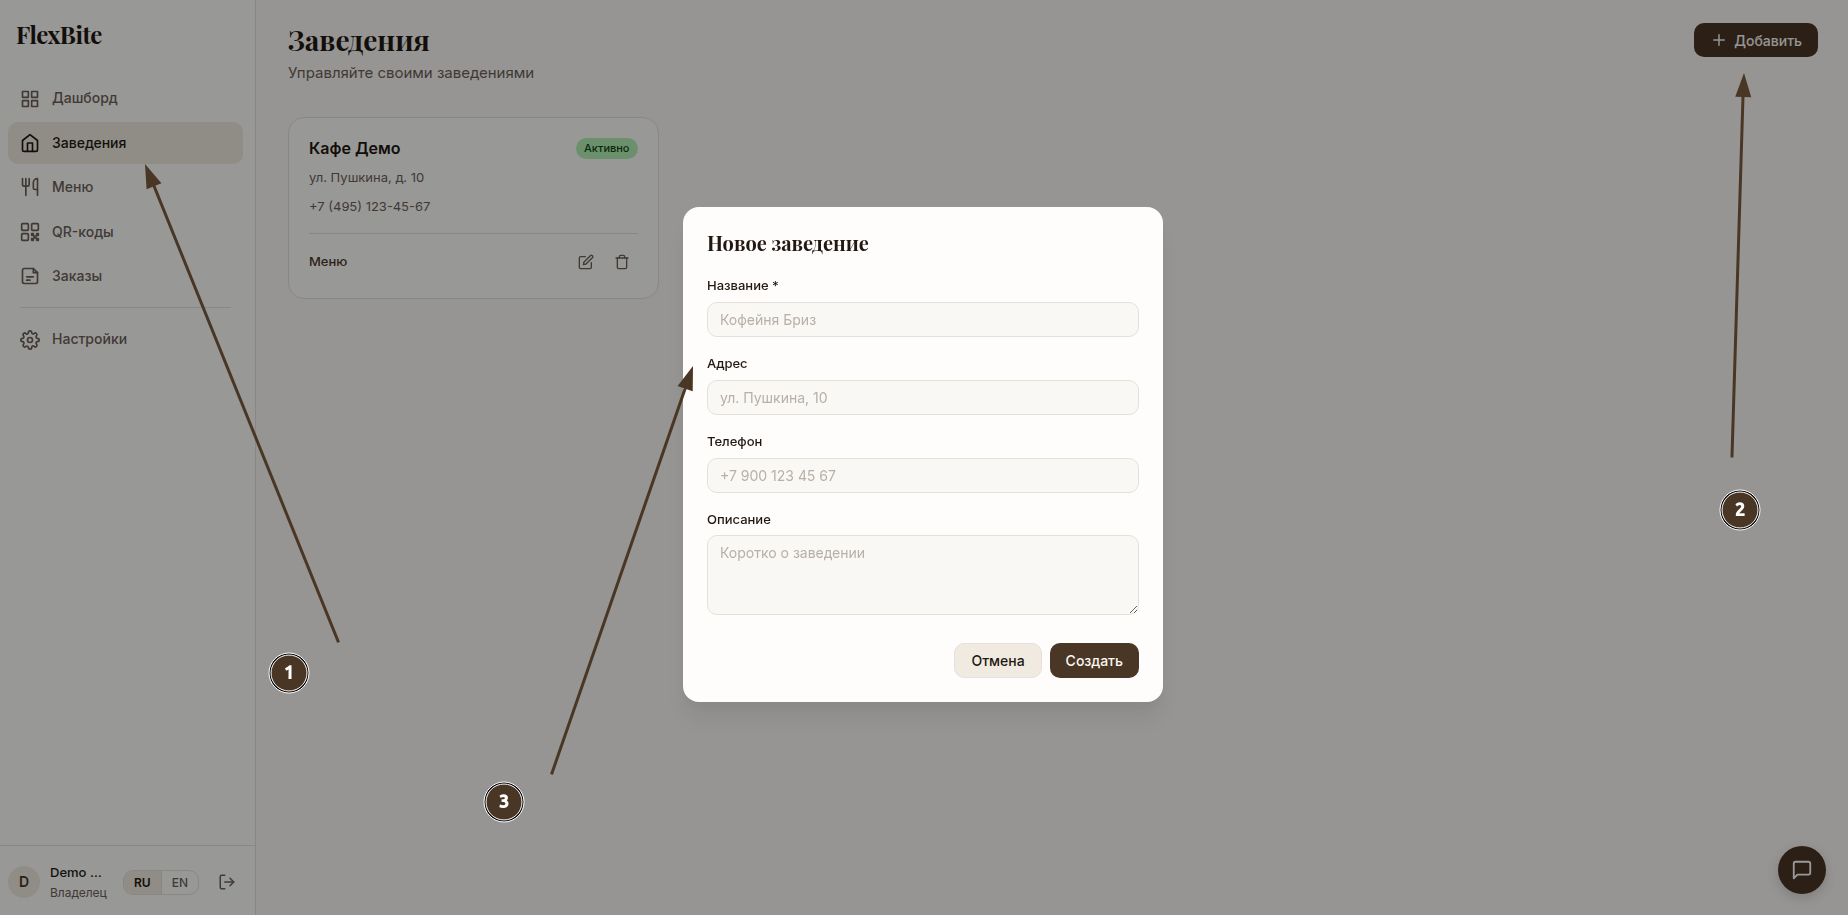
Step 3: Create Your Venue
After signing up, you'll land in the dashboard. Click "Create venue" and fill in:
- Name — how your venue will appear to guests
- Description — a brief description of your cuisine or concept
- Address and phone — so guests can find you
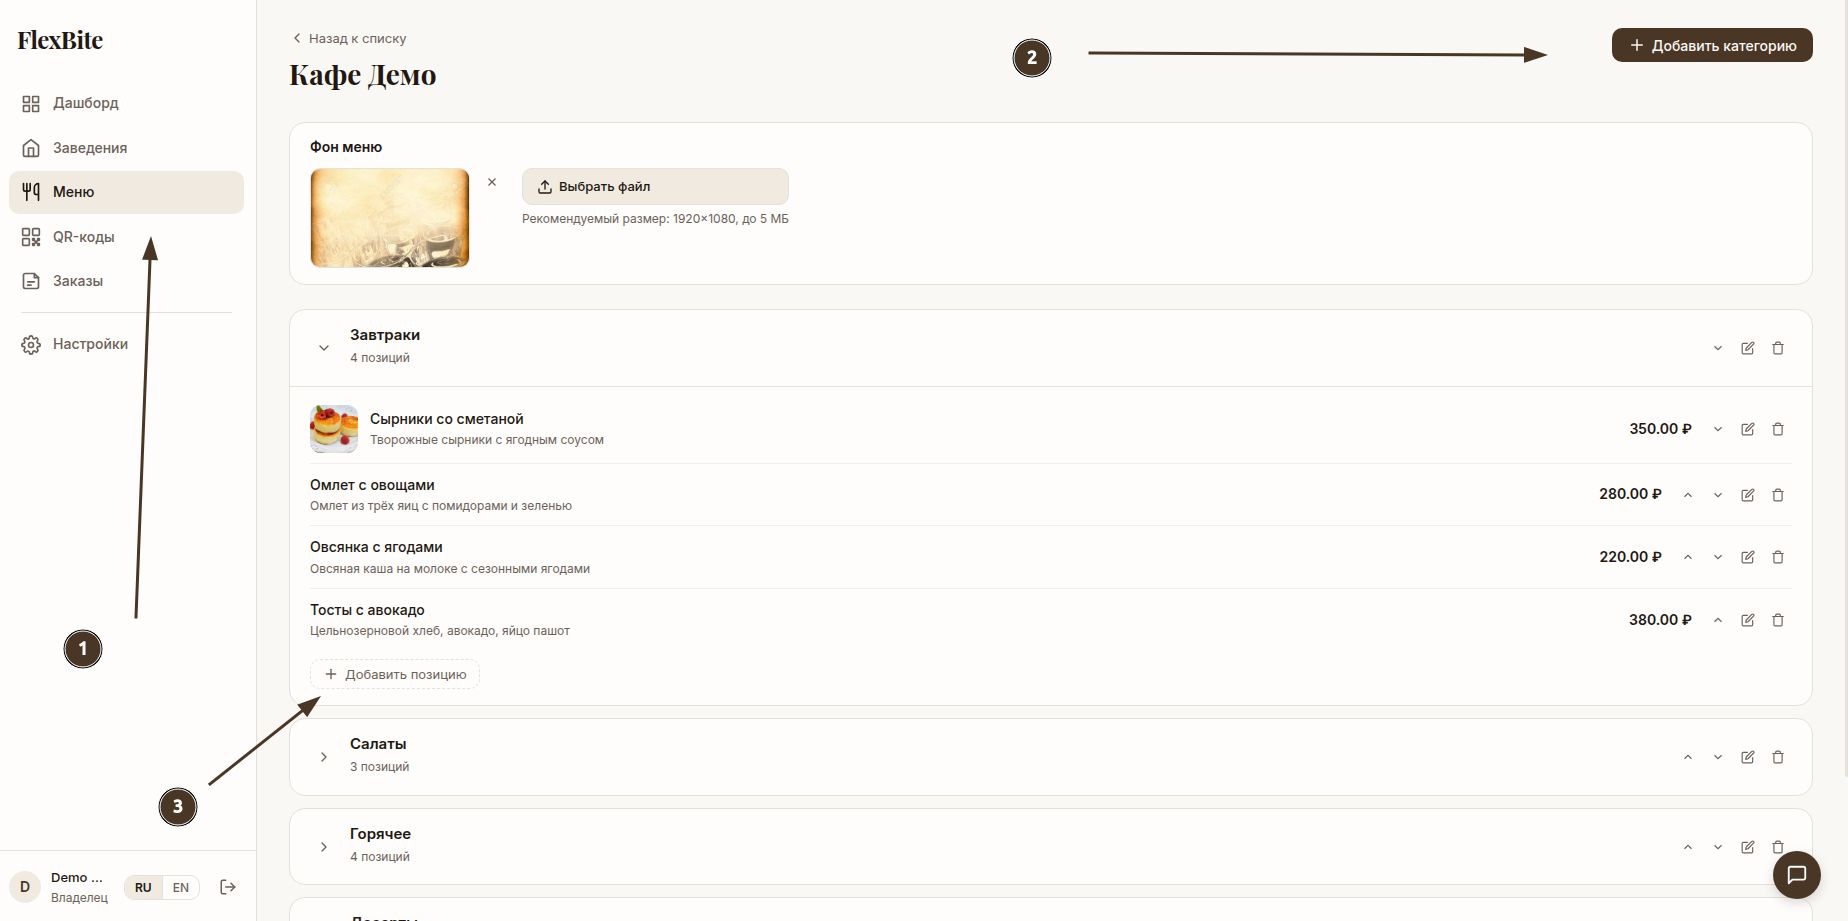
Step 4: Add Categories and Items
Go to the "Menu" section and create categories — for example, "Breakfast", "Main Courses", "Drinks". Add items to each category with a name, price, and description. You can upload photos of your dishes.
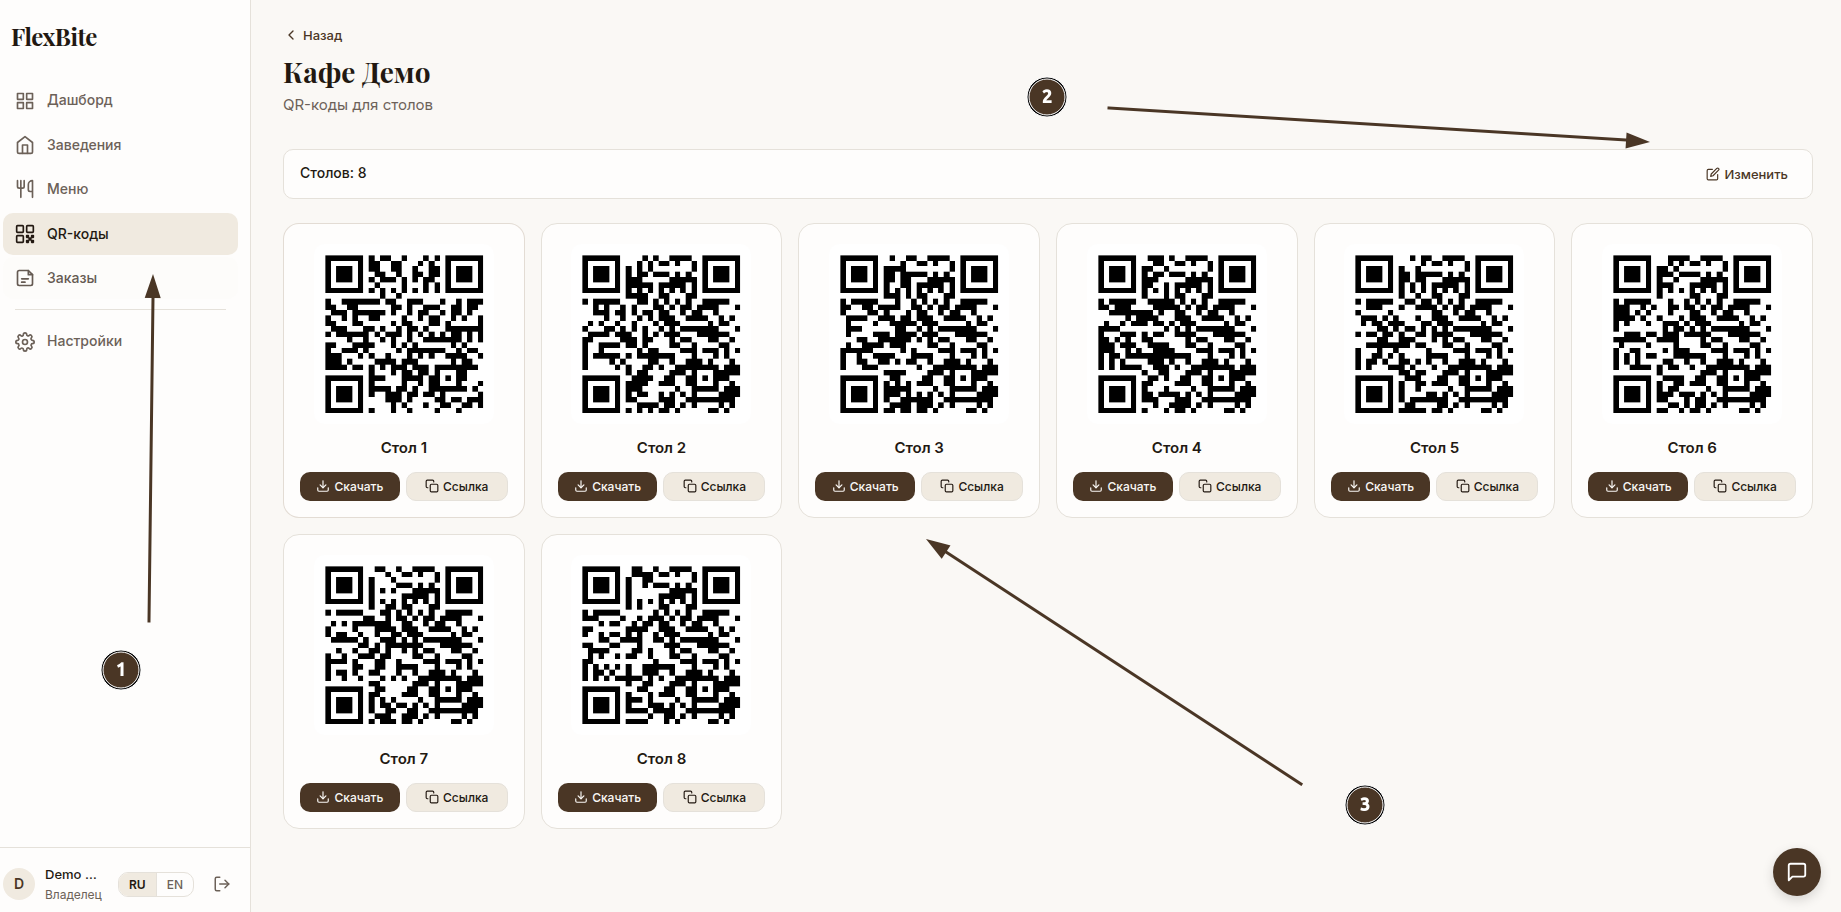
Step 5: Generate a QR Code
Go to the "QR Codes" section. The system will automatically create a QR code for your venue. Download it, print it, and place it on tables, at the entrance, or in your display window.
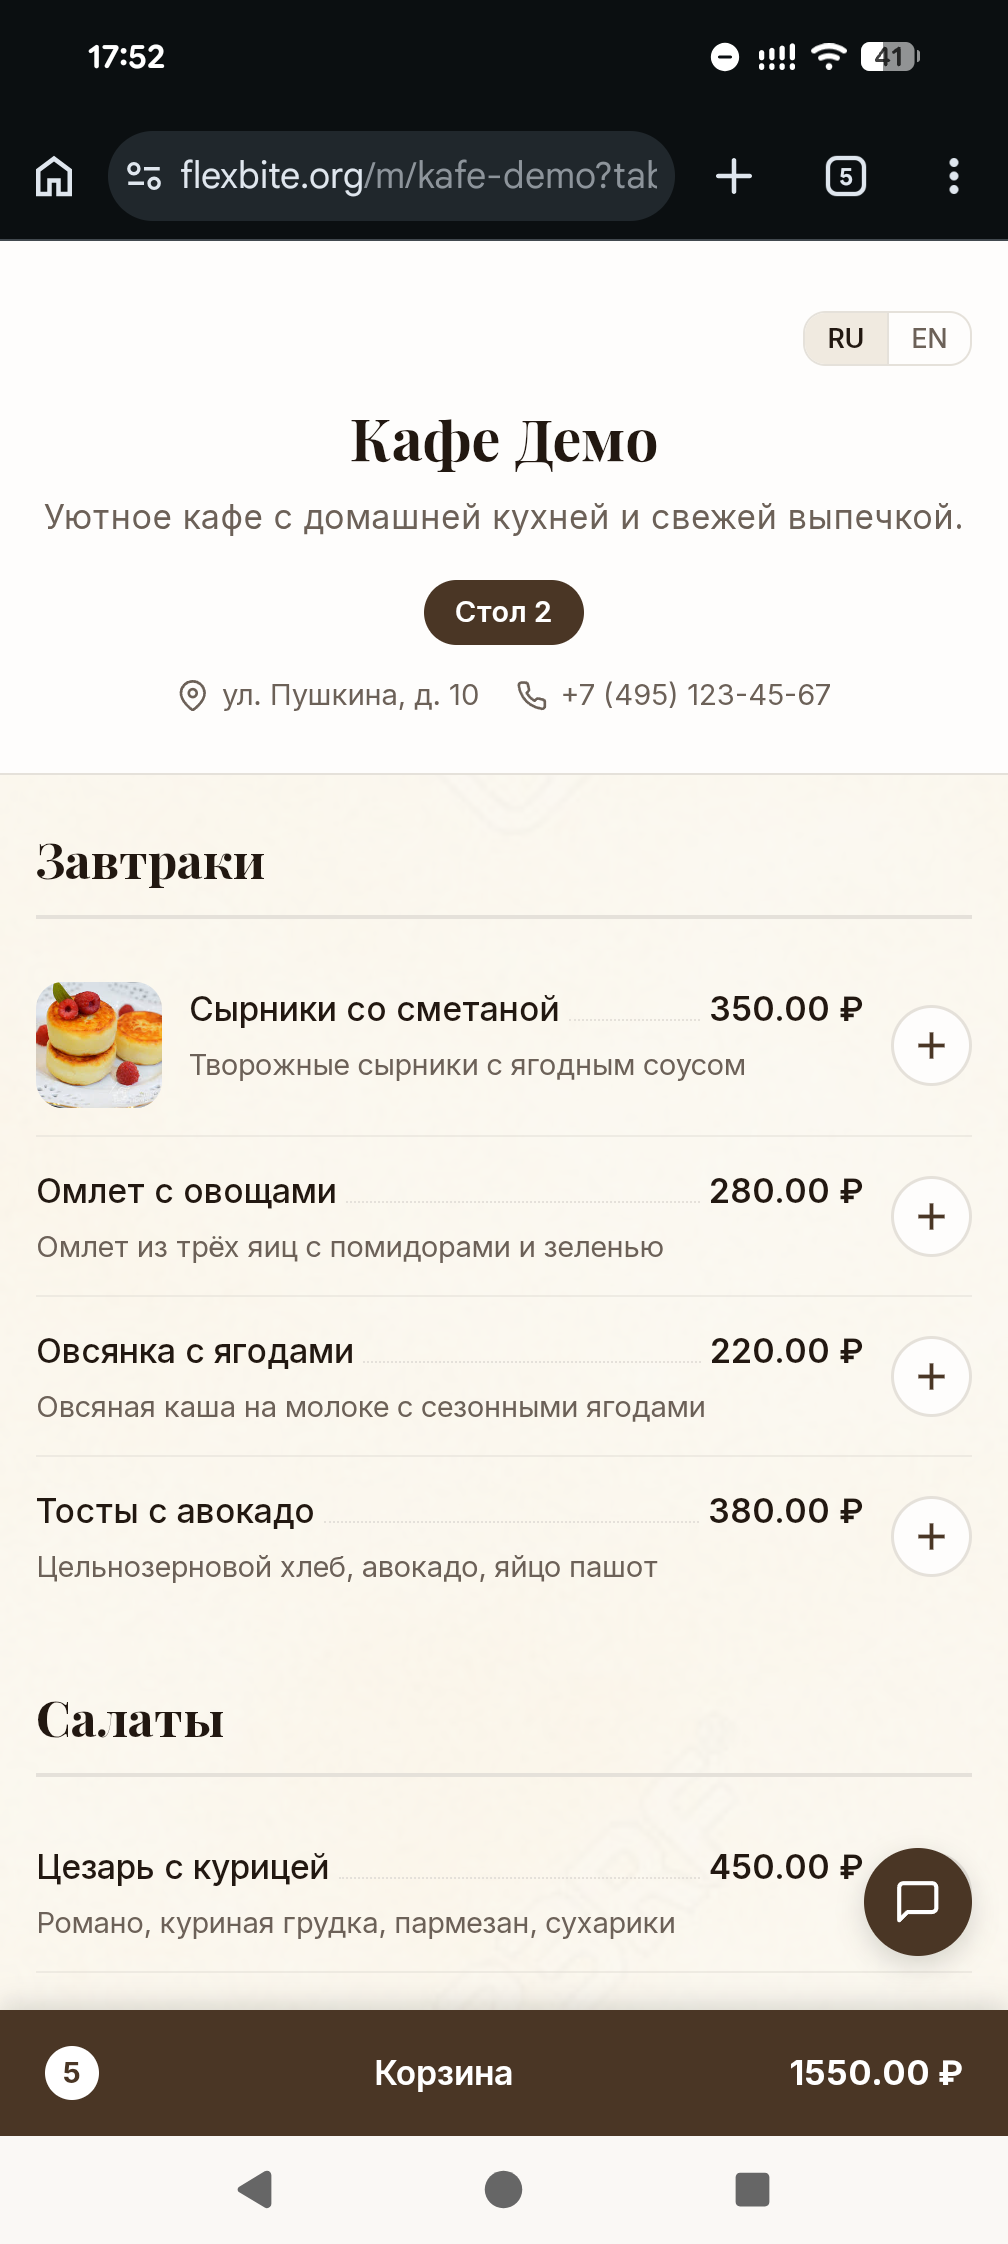
Guests scan the QR code with their phone camera and instantly see your menu — no app installation needed.
Step 6: Update in Real Time
Changed a price? Added a seasonal dish? Simply update the information in your dashboard — guests see changes instantly. No reprinting, no additional costs.
Why FlexBite?
- Free — core features with no time limit
- No equipment — you only need a phone or computer
- Multilingual — menus in multiple languages for tourists
- Instant updates — changes are visible immediately after saving
Create your online menu right now at flexbite.org.